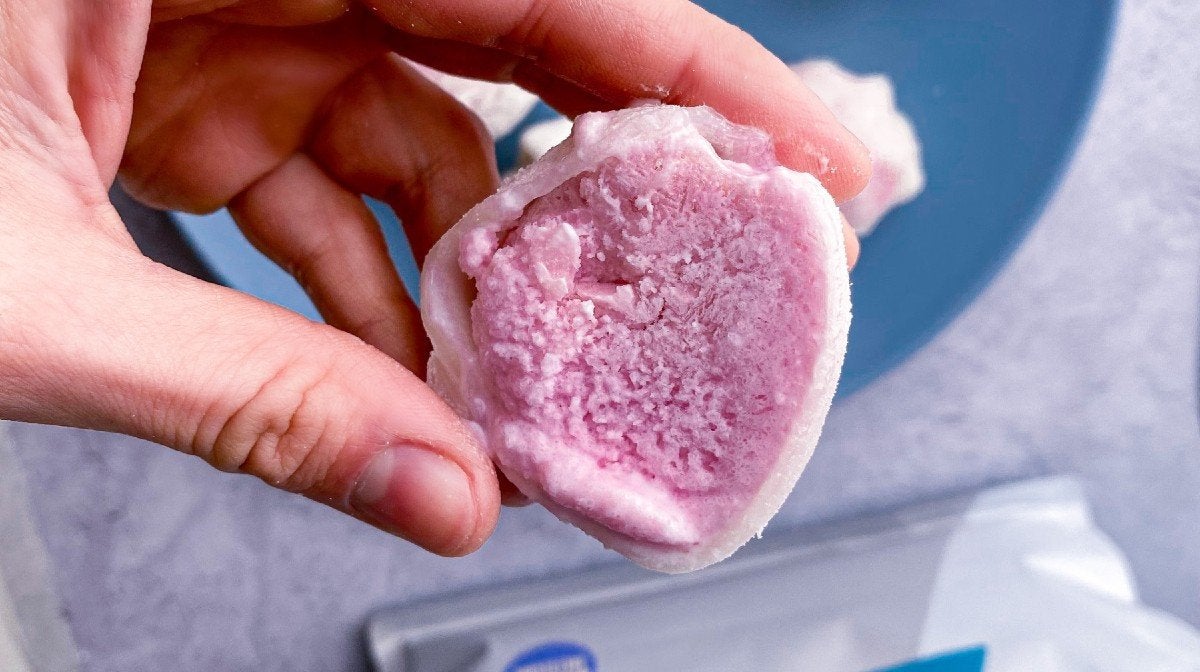
The world has gone crazy for mochi ice cream balls — and once you try them, you’ll see why.
Thanks to another trend on TikTok, our lives have been blessed with the discovery of mochi balls — a traditional Japanese sweet snack. They’re a delicate blend of Japanese rice cake (mochi) and ice cream to essentially create the most perfect bite-sized ice cream sandwich.
They’ve been so popular that shop shelves have been wiped clean of these ‘Little Moons’ and in some places people have resorted to queuing for miles to get a chance at bagging them.
Kitchen queen,
, has created this incredible protein mochi ice cream recipe for you to get stuck into. It might be a little more complicated than your average protein bake, but trust us, the results are well worth the time. You only need a handful of ingredients too.Flo’s gone with a delicious blueberry cheesecake flavoured ice cream for the filling, but the great thing about this recipe is that it will work with whatever flavour Impact Whey Protein you have on hand.
Ingredients
- 160g glutinous rice flour
- 60g sugar
- 230ml water
- Cornflour (to dust the surface)
- 1 can coconut milk
2 scoops Impact Whey Protein (Blueberry Cheesecake)
Method
1) First, mix the coconut milk and protein powder in a shaker until smooth and lump-free. Pour into an ice cube tray and freeze overnight.
2) The next day, put the ice cream cubes in a food processor and blend up until smooth. Scoop out with a spoon and make ice cream balls with a mould. Put back in the freezer for a few hours.
3) For the dough, mix the flour, sugar and water in a bowl until properly combined and smooth. Cover with clingfilm and microwave for 1 minute. Carefully remove the clingfilm and stir, then place back into the microwave for another minute. Stir again.
4) Cover again and microwave for a third time, this time for 30 seconds. The dough will be really sticky at this point!
5) Cover a chopping board with baking paper and dust the surface with a generous amount of cornflour. Place the dough on the board and stretch out flat with a rolling pin. Place in the fridge to chill for 10 minutes.
6) Once chilled, take the dough out of the fridge and your ice cream balls from the freezer. Use a cookie cutter to cut out circles from the dough, then pick up a circle one at a time, brush off any excess cornflour, and place an ice cream ball in the centre. Wrap the dough around the ice cream, twisting with your fingers to enclose it.
7) Enjoy immediately or keep stashed in your freezer for snack emergencies.

Protein Pancake Cereal — You NEED This Breakfast In Your Life
This is what #breakfastgoals looks like. ...
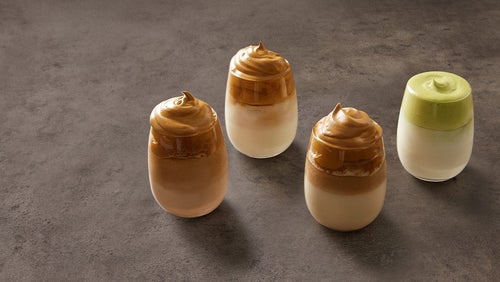
High-Protein Whipped Coffee 2 Ways
If you haven’t tried this trend yet, where have you been?...
| calories 206 kcal |
| totalFat 4g |
| totalCarbohydrates 34g |
| protein 8g |